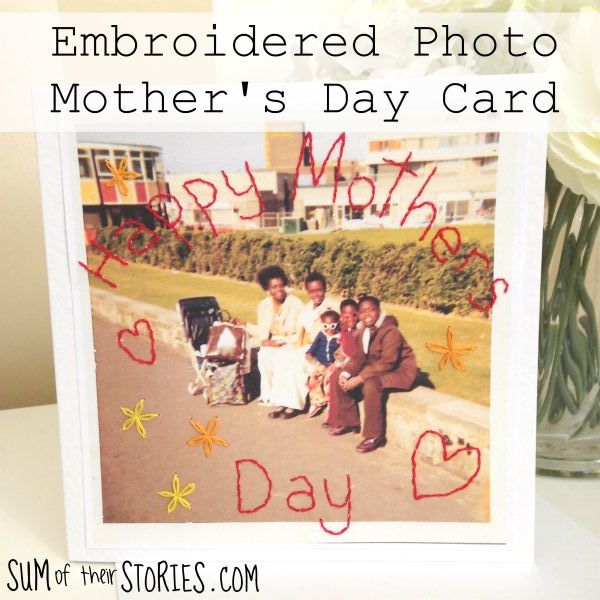
Embroidered Photo Mother's Day Card
/Of all the card giving occasion in the year, Mother’s day is the one when you just KNOW a handmade card is going to be well received.
How to make a simple embroidered photo Mother’s Day card
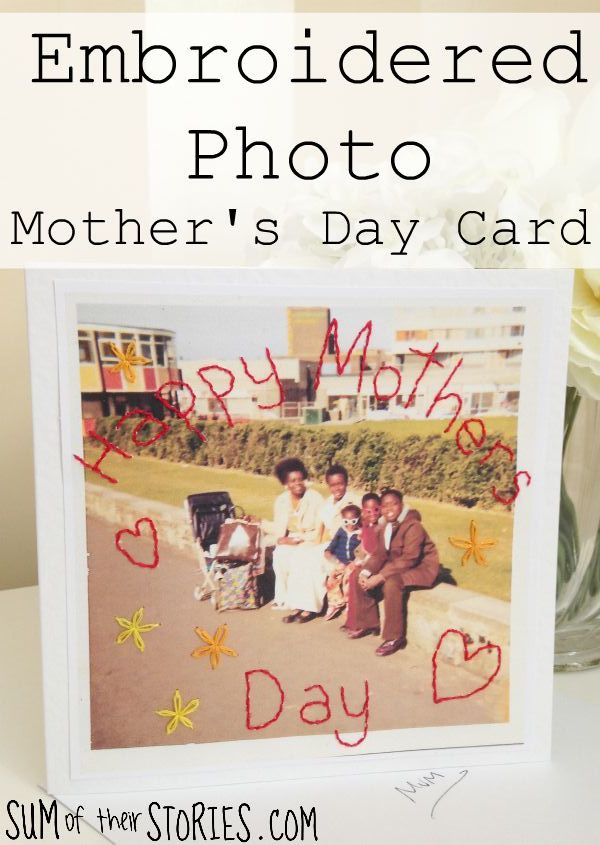
Grab an old photo, add some simple embroidery and make a unique Mother’s Day card that will be treasured for years.
This idea is one that I originally shared a few years ago when I was a guest on The Pinning Mama, so as Mother’s Day approaches again this year it seems like a good time to show you here.
Mother’s day is on different days in different countries. Here in the UK it’s on 31st March this year, in the US, Canada, Australia, most of the rest of Europe and lots of other places it’s on 12th May and in much of the Middle East it’s on 21st March. There are actually people celebrating their mums all through the year on different dates all around the world, that’s a nice thought isn’t it?
Right, back to this embroidered photo card idea. I made this back in 2016 for my mother in law. She is someone who really appreciates a handmade card so each year I try to make something special for her. In fact she still has this one up on her mantlepiece along side some family photos - bless her!
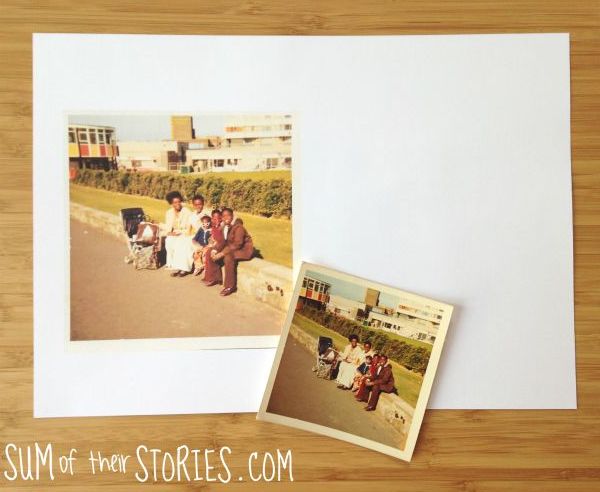
I searched through my husbands family photo albums and found a real 1970’s classic photo that showed my Mother in law with all her children. It’s not amazing quality but it worked fine for this idea.
To make an embroidered photo mother’s day card you will need:
An old photo of mum with her kids
A scanner and printer
Thin card (to print the photo onto)
Tracing paper or greaseproof paper
A cork table mat or similar
Embroidery needle, pin, pen, scissors
Prepare your photo for embroidery
Scan your photo and print it on thin card scaling it to fit your card blank, making it as big as possible without it getting too fuzzy, As I said, this can be tricky with old photos as the quality of your snaps might not be great, just do the best you can.
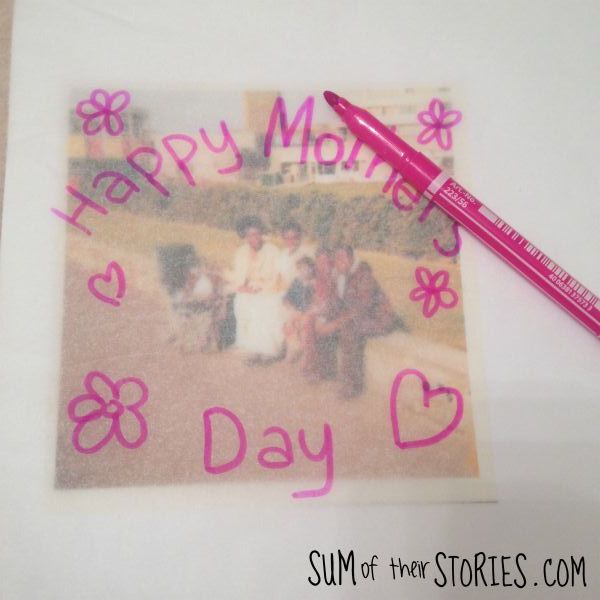
Cut the photo out and then lay a piece of tracing paper over the top.
Draw your message with the pen onto the tracing paper, add some flowers, hearts etc if your fancy. Exactly what you do will depend on your photo, just make sure you keep it simple.
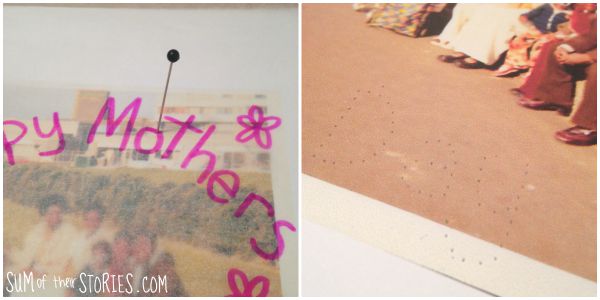
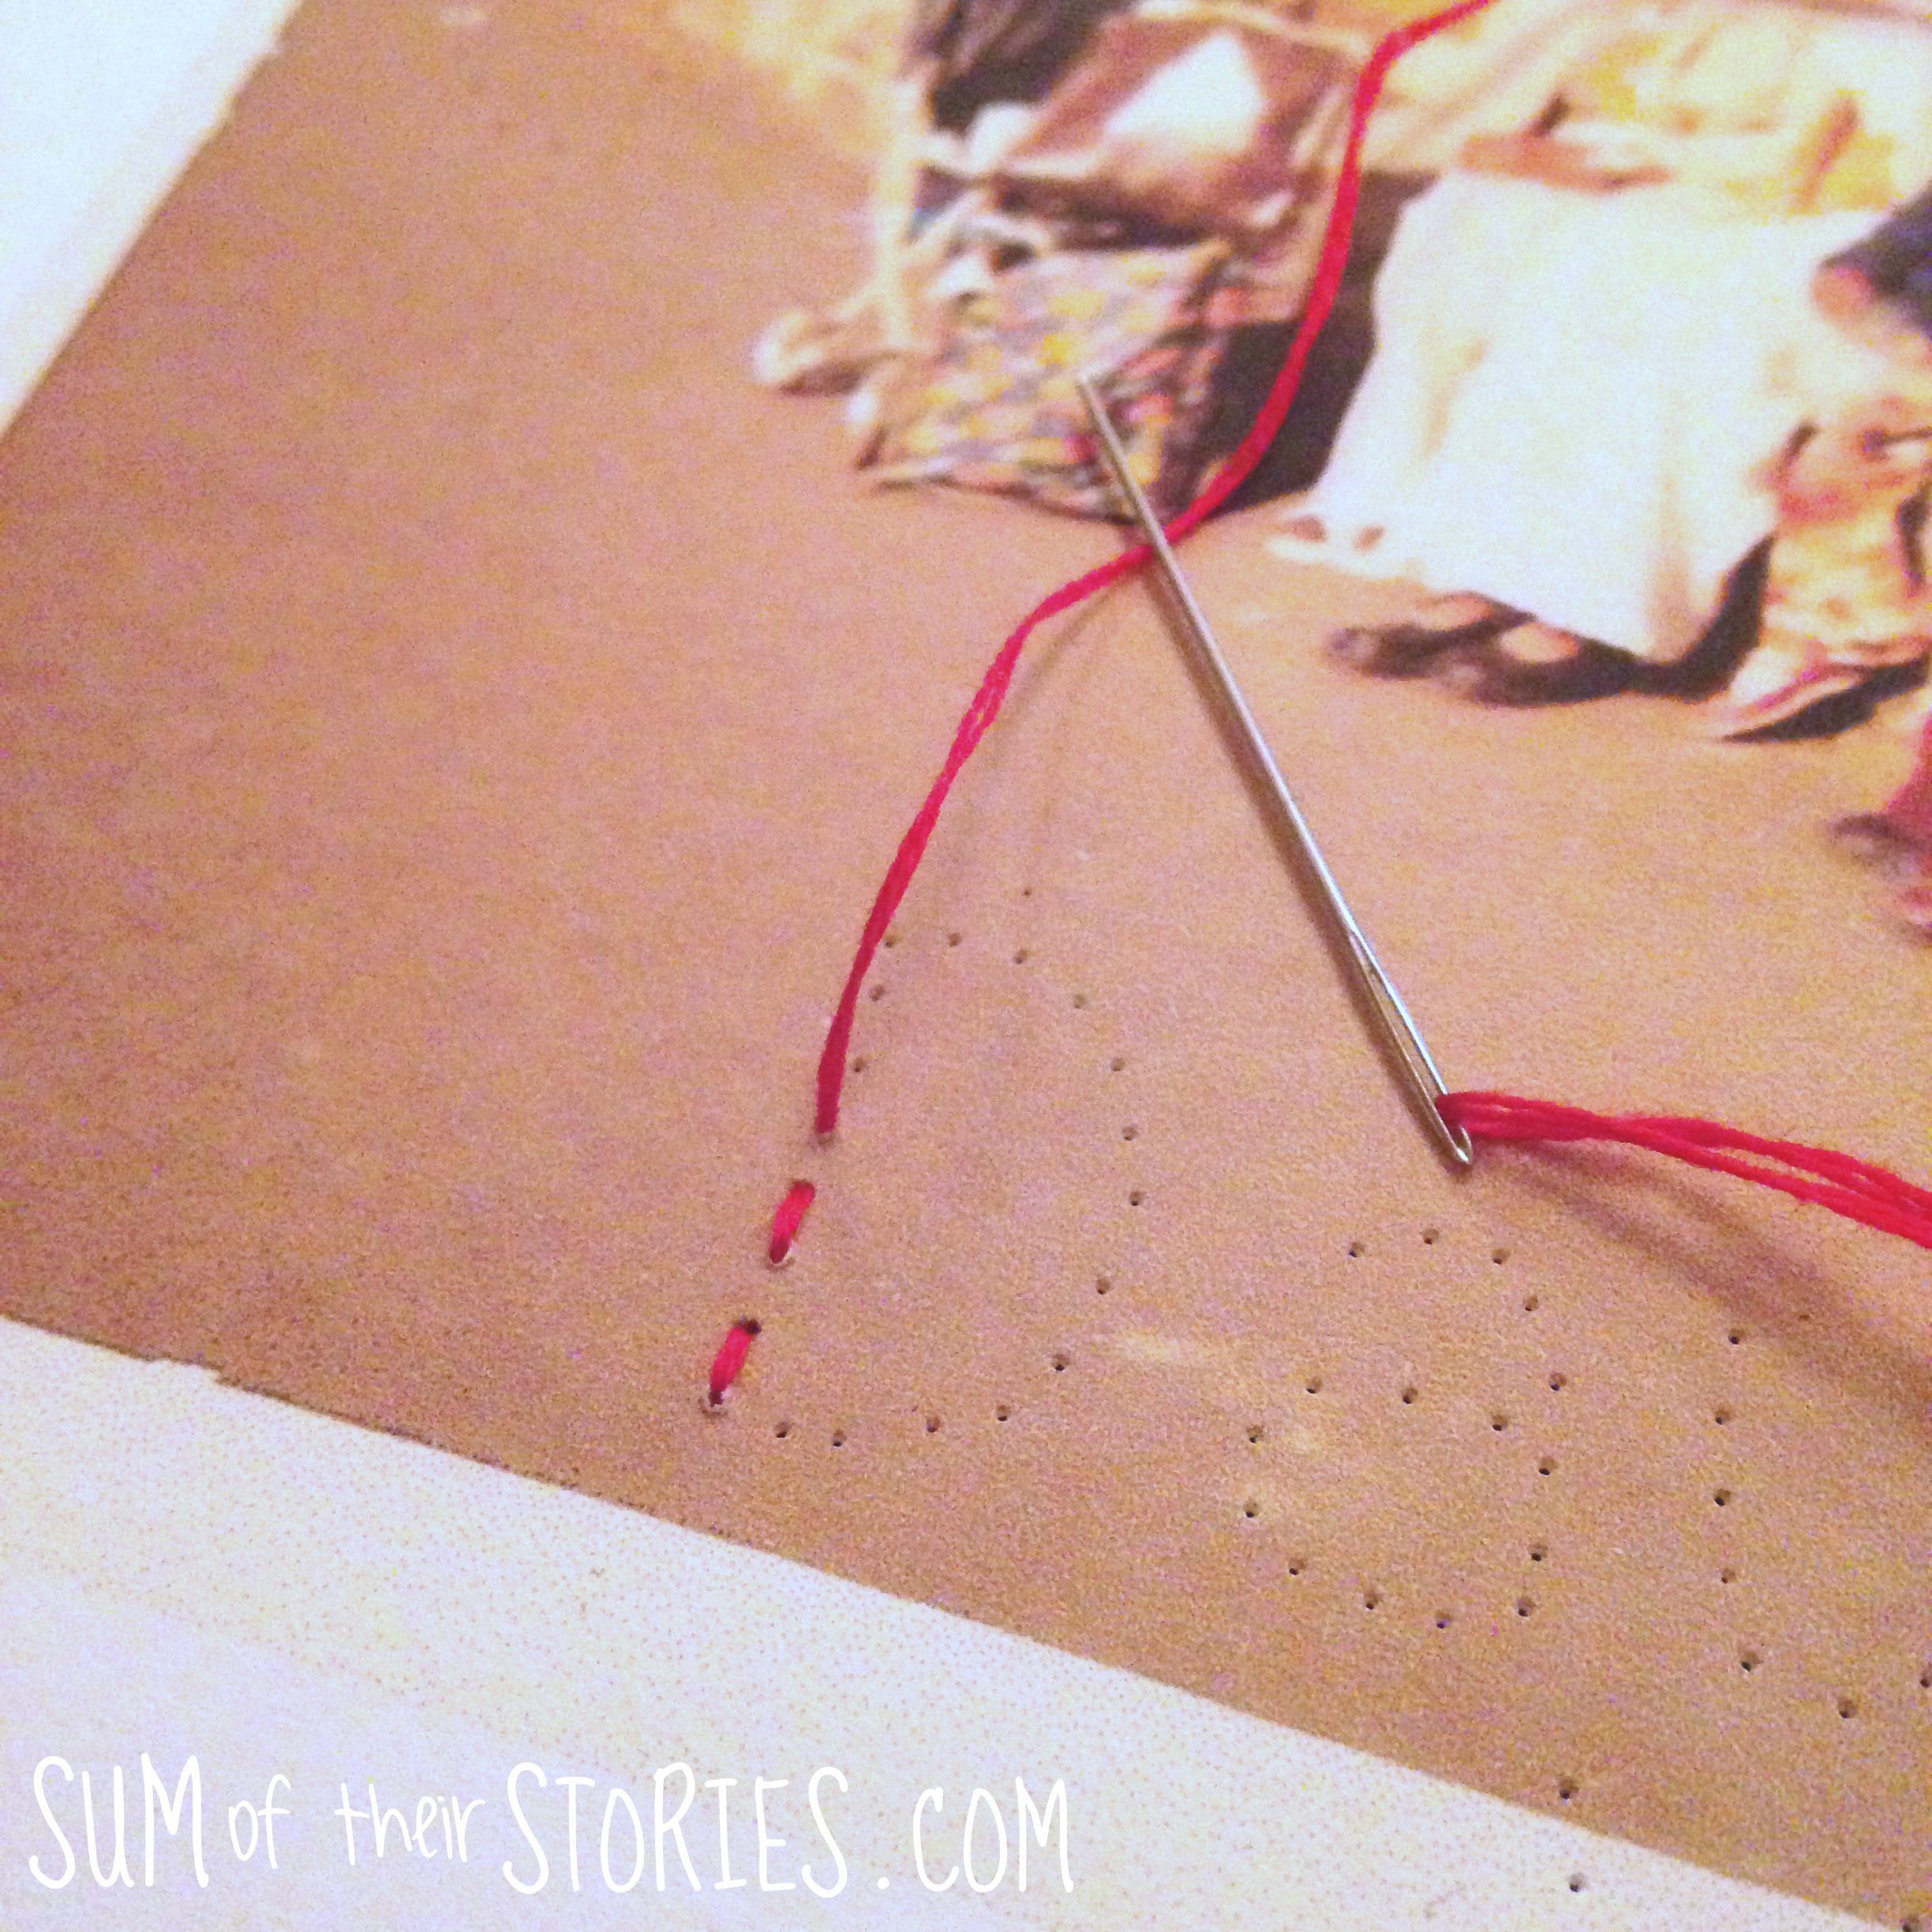
Place these 2 layers onto something to protect your table - I used the cork back of a placemat. Use the pin to prick holes along the lines you’ve drawn. Keep the holes as even as you can and not too close together - if you prick the holes too close the card will just perforate!
Embroidering onto card
Take the tracing paper away and then using 2 of the 6 strands of embroidery thread, stitch the design.
Use double running stitch for words, heart etc and lazy daisy stitch for flowers. I’ve got a guide for basic embroidery stitches if you need a little help gettings started.
You can just tape the threads on the back, no need to make lumpy knots.
When you are finished stitching just trim the embroidered photo and then mount it on your card blank.
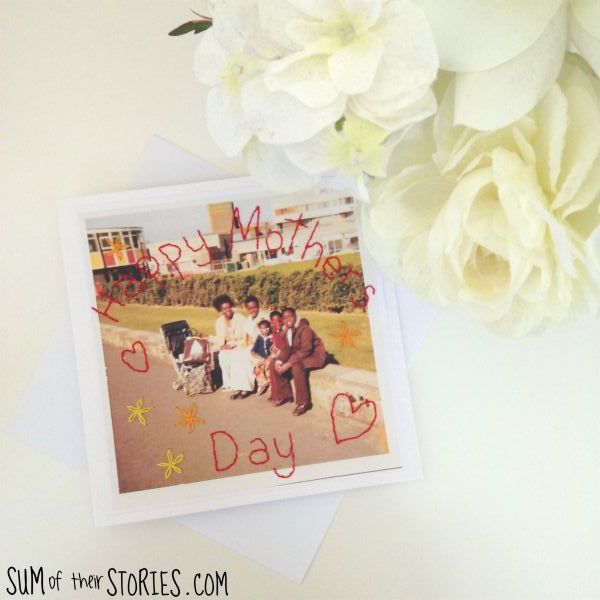
Your personalised embroidered photo Mother’s Day card is ready to give.
Do you think you have any old family photos tucked away in albums somewhere that you could turn into a completely unique and personal card for mum this Mother’s Day?
Julie
I’ll be sharing this idea at these link ups


